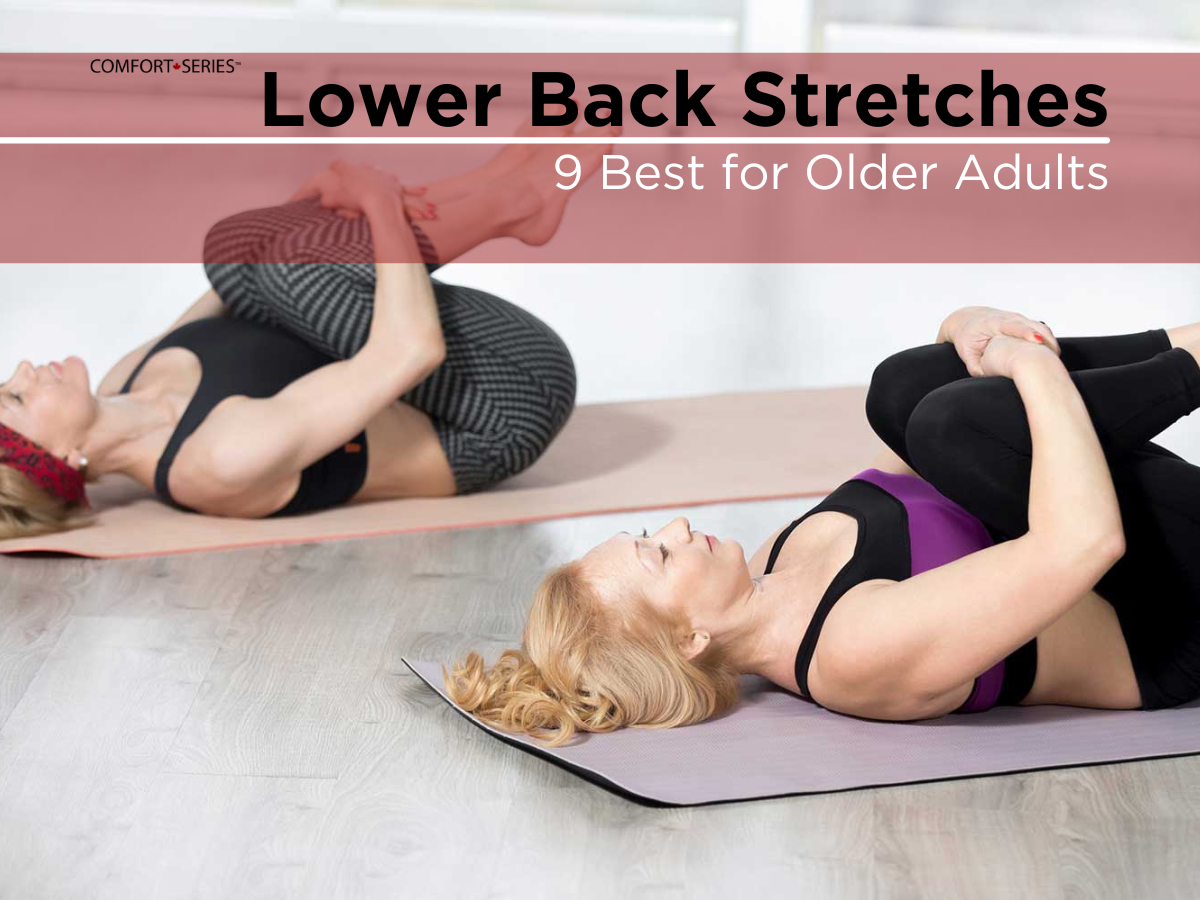
As you get older, taking care of your body is even more important. Stretching is a great way to alleviate tension and pain in your lower back, strengthen your core and back muscles, and maintain your agility. Let’s look at some of the best lower-back stretches based on yoga poses to include in a daily routine. As always, check with your doctor before starting a new exercise routine, and stop a stretch if you ever feel uncomfortable.
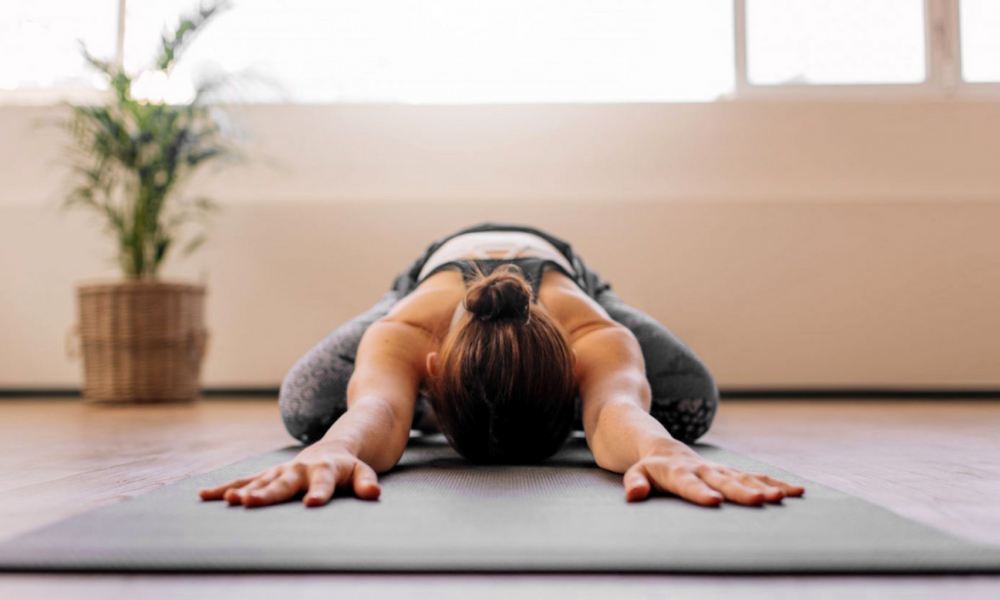
1.Child’s Pose
Level: Easy
Child’s pose is a classic yoga pose that helps release tension in your lower back, and it also stretches your shoulders and upper back. To get into child’s pose:
- Grab a yoga mat and get on all fours.
- Sit your hips back, leaving your arms outstretched in front of you.
- Get as close as you can to having your rear touch your feet. Your back should round and you should feel the muscles in your lower back release.
Watch how to do child’s pose here.
Modifications for Child’s Pose:
If getting into the full child’s pose is difficult for you, try the following modifications:
- If you can’t get your hips to touch your heels, either because of injury or mobility issues, instead stretch your arms forward. You can also widen your knees (a little wider than hip distance), make sure your heels are still together, and send your hips back this way. This will help you get your hips a little further down.
- If you find your neck straining in child’s pose, try putting a yoga block down and rest your head on it. That way, your head will be elevated and you won’t be forced to push it into the ground.
- Lastly, if you don’t want to stretch your arms forward due to shoulder issues, you can always bend your arms parallel to your shoulders and rest your head on your hands.
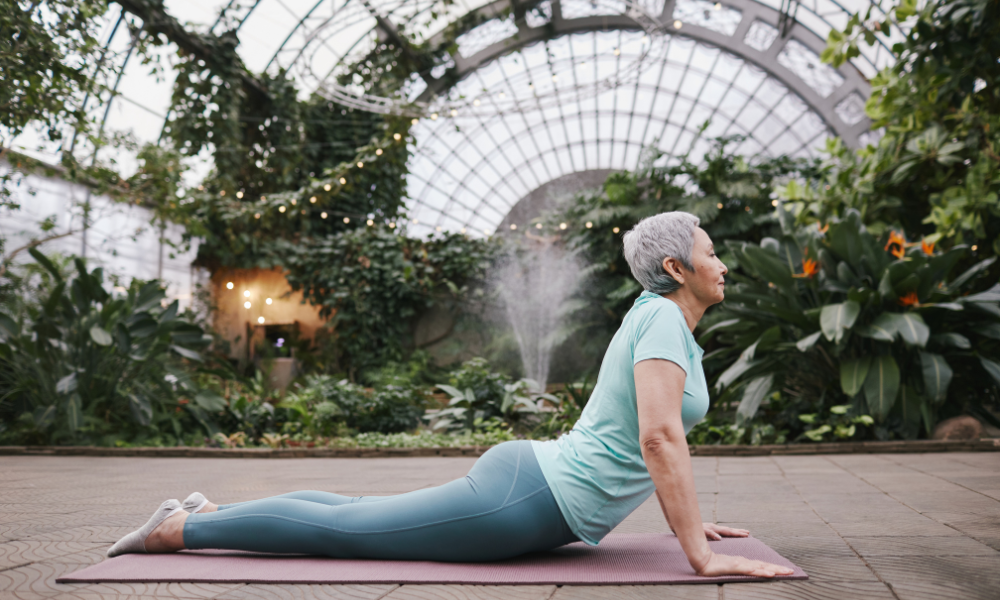
2. Cobra Pose
Level: Medium
Starting with gentle spine flexion & extension in the Cobra pose will allow you to move to deeper bends with time. Since daily life rarely requires you to move like this, backbends are essential for spinal health and longevity.
- From a front laying position with your nose to the mat;
- With hips staying on the floor, press down lightly with your hands, and lift your head and chest, rolling your shoulders back and down;
- keeping your shoulders away from your ears, arch your back gently, adjusting the intensity of your stretch by straightening or bending your elbows.
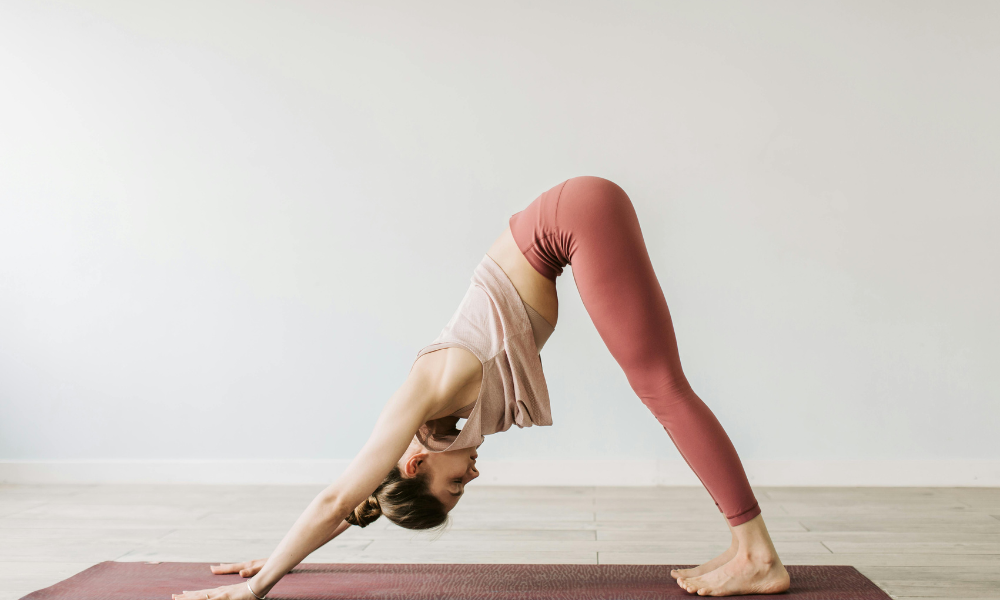
3. Downward Facing Dog
Level: Medium
Downward Dog is a position that helps to stretch your hamstrings and shoulder muscles between back extension poses.
- From the upward facing dog position, release the upward position and lower your shoulders towards the mat;
- Curl your toes under towards your body to position on the floor;
- Keep both toes pointed towards the front of your mat, and sink your heels towards the floor;
- Lift your buttocks upwards towards the ceiling while pushing your arms straight. Your ears should be in line with your arms, and you should be in an inverted V position.
Keep your weight mostly in your legs and reach your hips high.
Modifications for Downward Dog Pose:
Soften your knees if you have tight hamstrings, but keep feet parallel. Be careful to move gently and slowly to prevent dizziness.
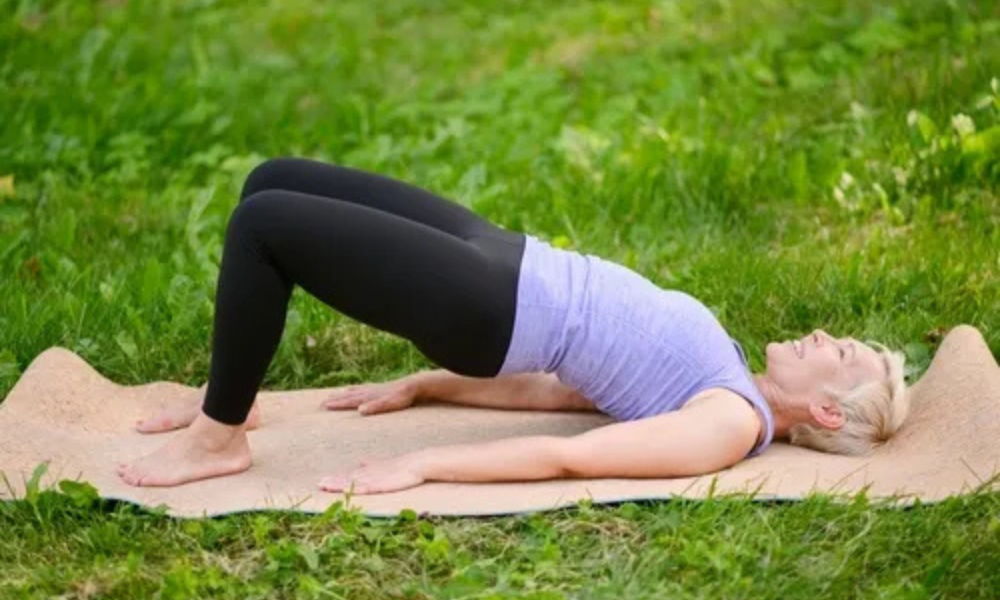
4. Bridge
Level: Medium to Hard
Bridge Pose is a gentle way to extend your spine. It improves the mobility of your spine, and counters the effects of too much sitting.
- Lay flat on the floor with your knees bent;
- Try to position your heels as close to your buttocks as possible;
- Arms will be at your sides, with palms facing down;
- Tuck your pelvis towards your belly-button to engage your core;
- Gently lift your buttocks towards the ceiling in your bridge position until only your shoulders are on the mat;
- Hold for 10 seconds, and slowly reverse the directions until your spine is flat on the floor; repeat.
Remember to root into the feet, which helps your leg muscles to support the pose.
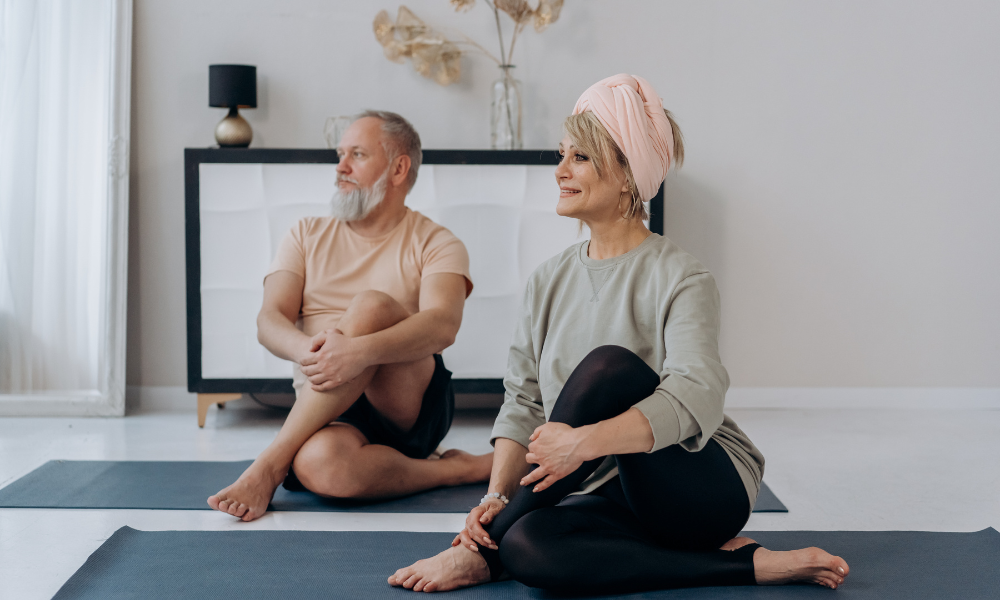
5. Seated Twist
Level: Medium
Gently twisting from one side to the other helps stretch your back and core. This stretch is best done while sitting up straight on the floor, or in a hard-backed chair. Simply:
- Sit up straight in your chair.
- Put both arms straight over your head, then take them both down to your left side. You can grab the back of the chair for a deeper stretch, or just twist as far as is comfortable.
- Repeat on the other side by putting your arms straight up and bringing them down on your right side.
- When twisting, look to the side that your arms are on. This will help stretch your neck, as well.
Watch how to do a back twist in a chair here.
Modifications for Back Twists:
If you can’t twist your body very far, that’s okay! An easy modification is to just twist as far as you are comfortable. Some people may be able to twist so far that they can look behind them, and some may only be able to twist as far as putting their hand on their hip. No matter where you are, only twist as far as you feel comfortable. Spine twists are very beneficial when done correctly, but care should be taken on this sensitive area.

6. Cat-Cow Yoga Pose
Level: Easy
Cat and cow are complementary yoga poses that arch your back and then let it drop. Cat-Cow may be the most important yoga pose that you learn, especially if you have back pain. Here is how to do cat-cow pose on the floor:
- Grab a yoga mat and get on all fours.
- Gently tuck your tailbone and arch your back away from you, drawing in your core and pressing your spine to the sky. This is cat pose.
- Then, tilt your pelvis back, drop your spine and arch your back into a reverse C shape, and look up to the ceiling. Push your hips up to really feel the stretch and increase the curvature of your spine. This is cow pose.
- Alternate between the two to get the full range of movement, inhaling for cow pose, and exhaling for cat pose.
- Cat pose pushes your spine to the ceiling, while cow pose arches your back and releases lower-back muscle tension.
Watch how to do cat-cow here.
Modifications for Cat-Cow:
For a simple modification, try doing the cat-cow pose in a chair rather than on the floor. This modification is great if you have shoulder issues. To do this move in a chair, simply rest your hands on the bottom of the chair, and look up to the ceiling and arch your back (cat), then look down at the floor and curve your back (cow).
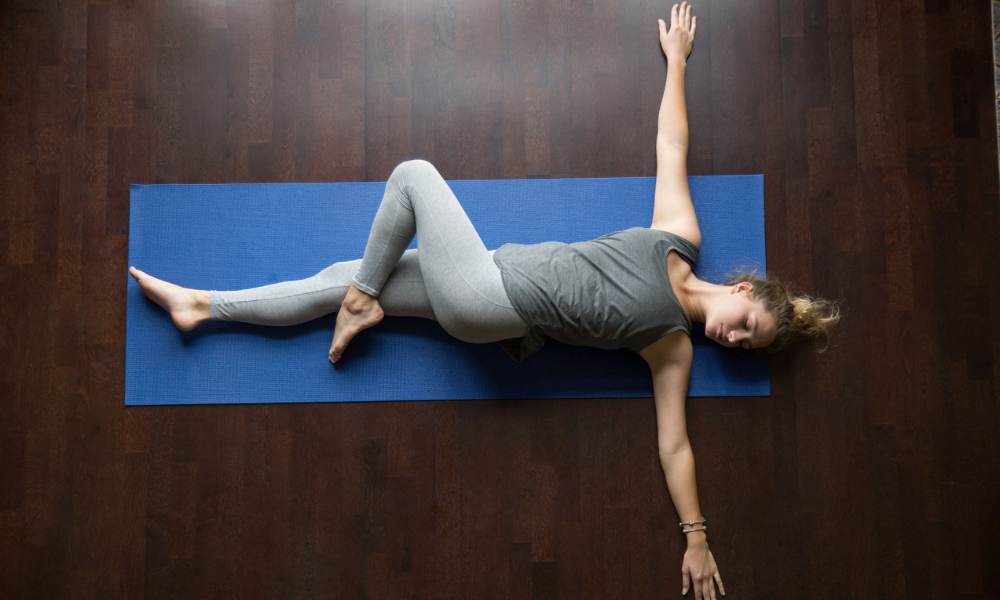
7. Lying Spinal Twist
Level: Hard
This stretch is similar to the back twist, but it is done on the floor and uses the weight of your legs to deepen the stretch. How to do a lying knee twist:
- Lay flat on the ground facing up with your arms spread to the side in a T shape.
- Bend your right knee and let it gently fall to your left side. Keep your left leg straight.
- Repeat by bending your left knee and letting it gently fall to your right side. Keep your right leg straight.
Watch how to do a lying knee twist here. To deepen the stretch, you can also bend both legs at the same time and move from from side to side, like shown in this video.
Modifications for Spine Twist:
We rated the lying spine twist as a hard level because it twists your back with the whole weight of your legs. While not a direct modification, a similar stretch is the Beauty Queen. Simply sit on the ground, bend one leg and cross it over the other, and look in the opposite direction. This stretch is easy to modify for your own flexibility and mobility because you can adjust your leg (drawing it closer in is harder) and twist only as far as you need. This is still a more advanced stretch, but it’s a good alternative if you don’t want to do the lying knee twist on the ground.
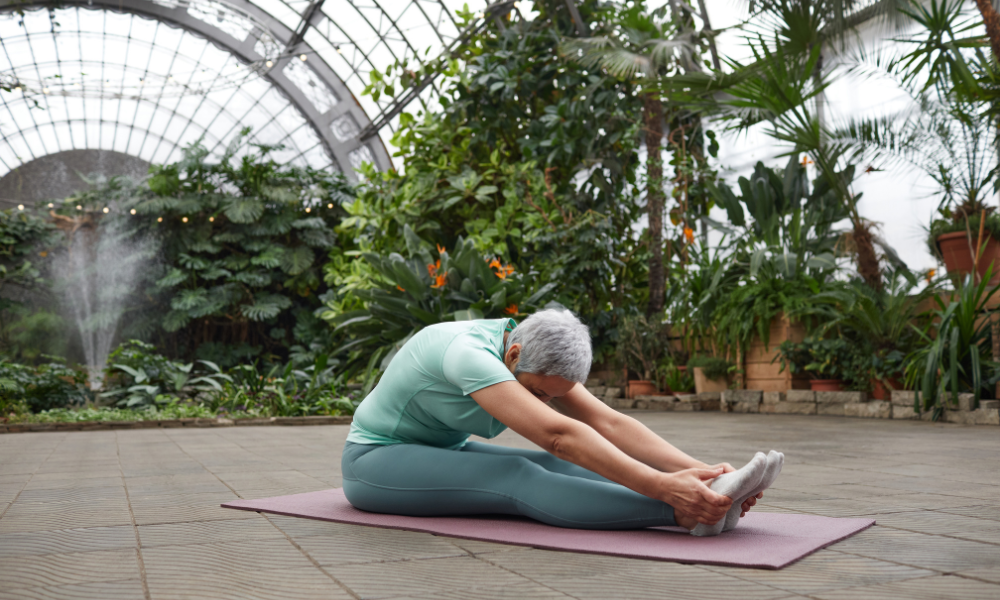
8. Seated Forward Bend
Level: Medium to Hard
This pose offers a stretch to the entire back of the body. Hamstrings tend to get short and tight in people who sit a lot, which can contribute to lower back pain. Seated with your legs straight in front of you.
- Keep your shoulders down and away from your ears as you bend from the hips, not your waist;
- keep your neck aligned with your spine.

9. Happy Baby Pose
Level: Easy
The happy baby pose is a great way to finish your stretching session. The deeper you draw your feet toward you, the more you stretch your pelvis, relieving back pressure.
- keeping your sacrum flat on the mat, pull your feet up so that your shins are perpendicular to the floor;
- using your hands, grip the arches of your feet and gently draw them towards your armpits;
- hold this pose for 30 seconds or longer to release tension and tightness.
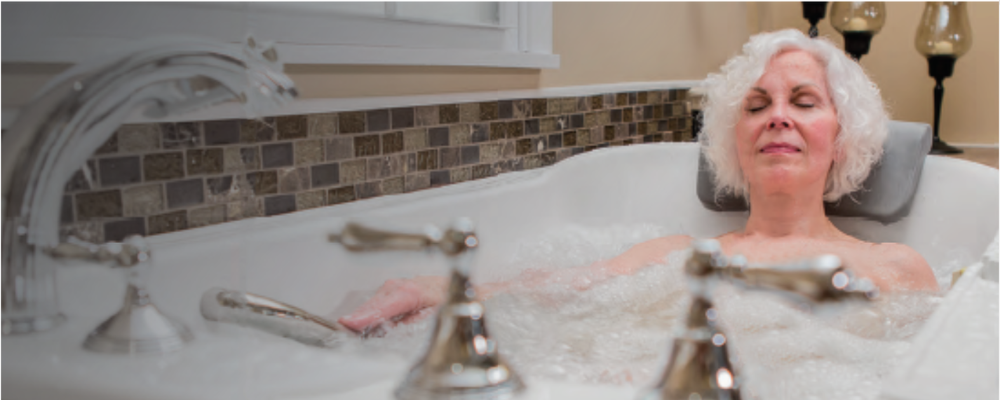
Take Your Stretching Further
Once you feel comfortable with your lower-back stretches, you can take them up a notch by stretching in the bath. Warm baths have been loved for their therapeutic properties for centuries because of the water’s buoyancy and relaxing properties. Usually the cause of lower back pain is muscle-based (unless you have a specific injury or ailment), and warm water relaxes your muscles so you can deepen your stretches. Try some gentle stretching, such as the back twist described above, in your walk-in tub for a full-body release. Your lower back will thank you!